
How to Prep Exterior Wood for Painting
The exterior painting and maintenance of woodwork is usually a job that gets put off way too much. It’s not necessarily because the job is too expensive, it’s just very time-consuming and laborious. It’s typically a job that requires you to work up high which makes many very uncomfortable.
Where To Begin?
If you are contemplating getting the exterior of your wood repainted, your original coating is likely showing signs of wear. It could also be that your wood is beginning to decay. There are plenty of things that can damage your woodwork. These things can include:
- Water
Water exposure can damage the wood. Any major fluctuations in moisture content can result in both expansion and contraction of the wood. This can cause a lot of issues because it raises the grain and it could eventually lead to splitting and distortion. Having high moisture content in wood can result in paint films losing adhesion and it can lead to the wood eventually rotting.
The end-grain of joinery is usually the most prone to absorbing water. It’s typically one of the most neglected areas of the wood. Thus, it’s essential to ensure that the end grains are completely sealed. This means sealing not only the more obvious area like the edge of the window sill but also the internal joints in the reveals of the window too.
- Fungal Growth
Any moisture exposure can lead to numerous issues including fungal growth. More specifically, if the wood features a moisture content of more than 22% for an extended period, it can lead to fungal spores growing and the wood rotting. Thus, it’s always important to treat any new timer with the right kind of preservative to avoid this.
- UV Rays
Any exposure to direct sunlight can damage the wood. Direct sunlight can cause numerous issues including deterioration of the wood itself. Any bare timber left fully exposed to sunlight will degrade over time. It’s also going to limit its ability to retain a painted surface. Any varnish will usually fail much earlier than expected because they don’t block or filter the damaging radiation from it. Darker paint colours will tend to absorb a lot more radiation which means you don’t want to use dark colours on exterior wood that’s going to be south-facing.
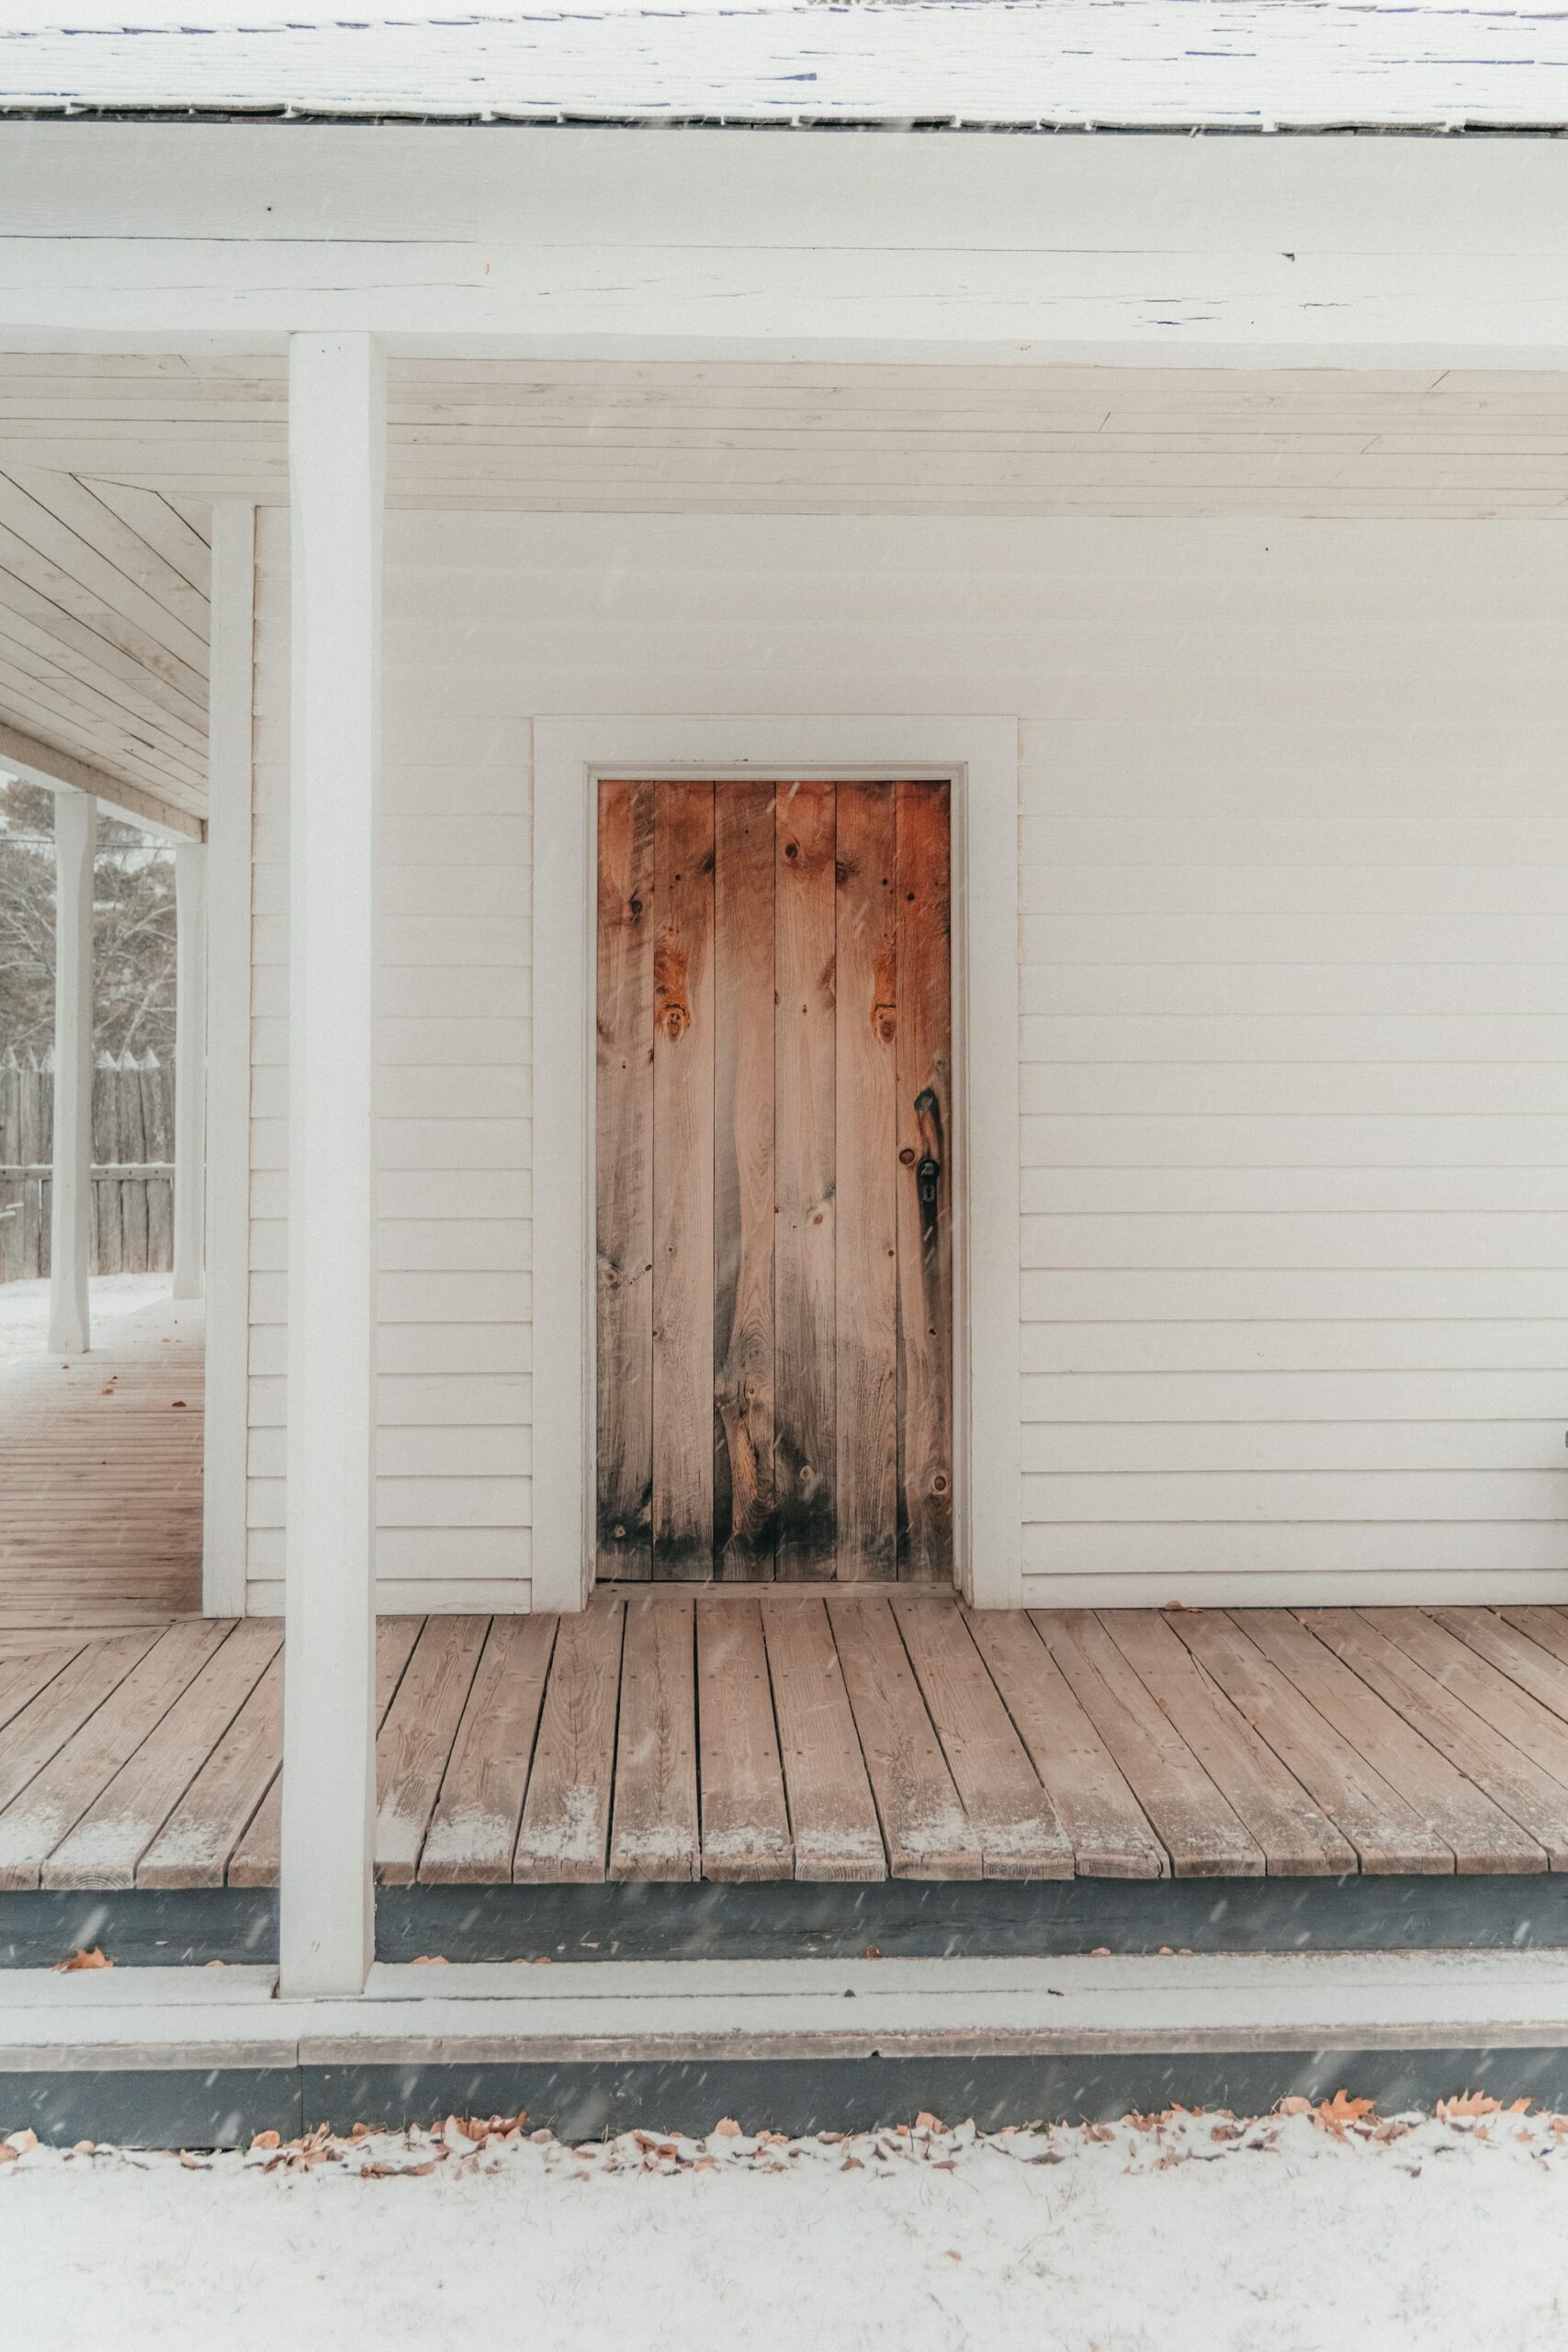
Preparation
Any brand new bare timber needs to be fully primed after it’s sanded if you are planning on painting it. You can find sandpaper in different grades. The grades are determined by how coarse the paper is. The grades can be found measured in numbers. The lower the grade, the more coarse it is. Any brand new timber needs to be sanded with sandpaper that is medium to fine-graded. This means around 120 graded papers. Once the sanding is complete, there are likely to be small indents on the wood surface. These small indentations will need to be filled otherwise they can spoil your paint finish.
For any varnished surfaces, wood filler should be used. The colour you use should match the colour of the wood as much as possible. For any larger areas, an electrical sander can be used. This makes the process more seamless. However, it’s important not to sand too much of any one part of your wood down. Using rolls of abrasive paper is a good way to make it easy to cut to length so it can fit your power sander.
Priming
Primer is a very thin paint that works by soaking into the grain slightly. It can take prime the wood by taking some of the porosity out of it. If you apply a top coat of paint to wood that hasn’t been primed, it can completely suck the moisture out of it. This can result in the paint not getting a chance to soak into the timber. Thus, the paint ends up drying before it has a chance to set itself into the wood’s grain. This makes the paint much more likely to peel faster.
When you apply primer, it can only soak into the wood properly when the surface is free from grease. Therefore, you want to ensure your wood is ready for application. If needed, you can do this by washing the wood down with sugar soap to get rid of the grease. Then you can sand it down with medium-grit sandpaper to prime it.
What Paint To Choose?
Any exterior paint is going to be categorised as solvent-borne paint or water-borne paint. You want to choose the one that best suits your wood. Oil-based paint is going to be a part of a separate primer and finish. Whereas, any water-based paint is usually going to be an all-in-one solution. When it comes to finishing, the oil-based systems are generally going to deliver a much more glossy finish. However, low-sheen water-based paints can perform better overall.
Any paint that’s got a moisture permeable or breathable description is meant to allow moisture that’s trapped within the wood to escape as a vapour. This is meant to “improve” the performance of the paint. However, there isn’t much to support this and any claim that the breathability helps the performance is mostly unfounded. They do work, however. This is mostly because they have been specially formulated to work on exterior wood. Thus, they have good flexibility, better adhesion, and good fungal resistance.
You want to choose a paint system that fits your budget and your use case. A water-based paint system is usually going to be much easier to use and apply. You can do re-coats in mere hours after drying. However, an oil-based paint system is usually going to deliver glossier results, but it will require a lot more preparation and patience.