
The Best Way To Use Primer on Wood
Ever thought about exactly what the right amount of coats of priming ought to be used on timber? In that case, you might be in the best place! We shall be discussing:
Essential things you must know about priming wood
- What sort of priming must be done
- The amount of priming coats that needs to be used
- Essential steps for priming wood
- And much more!
If you have wondered how you can provide your bare surfaces with a great paint job, continue reading this informative article to discover each of the essential things you need to know how to accomplish just that!
A vital facet of any DIY project is priming, whether you have to repaint the lumber which has been painted numerous times or you need to prime bare surfaces. It is essential for both interior and exterior applications.
For professional painters, it is a good friend!
The explanation for this is when you want your brand-new covering to make the gorgeous colour you are looking for as well as truly shine, then it is critical to ensure the lumber is ready to take paint.
Yes, the wood grain should be prepared in order that it holds the colour. After all, lumber can be very picky from time to time.
Every time a beautiful and finicky surface is treated properly the final result can turn out beautiful. There are a few key things that must be considered when painting and seeking to ascertain the exact quantity you might require for any project.
Previously Painted vs. Unfinished Timber
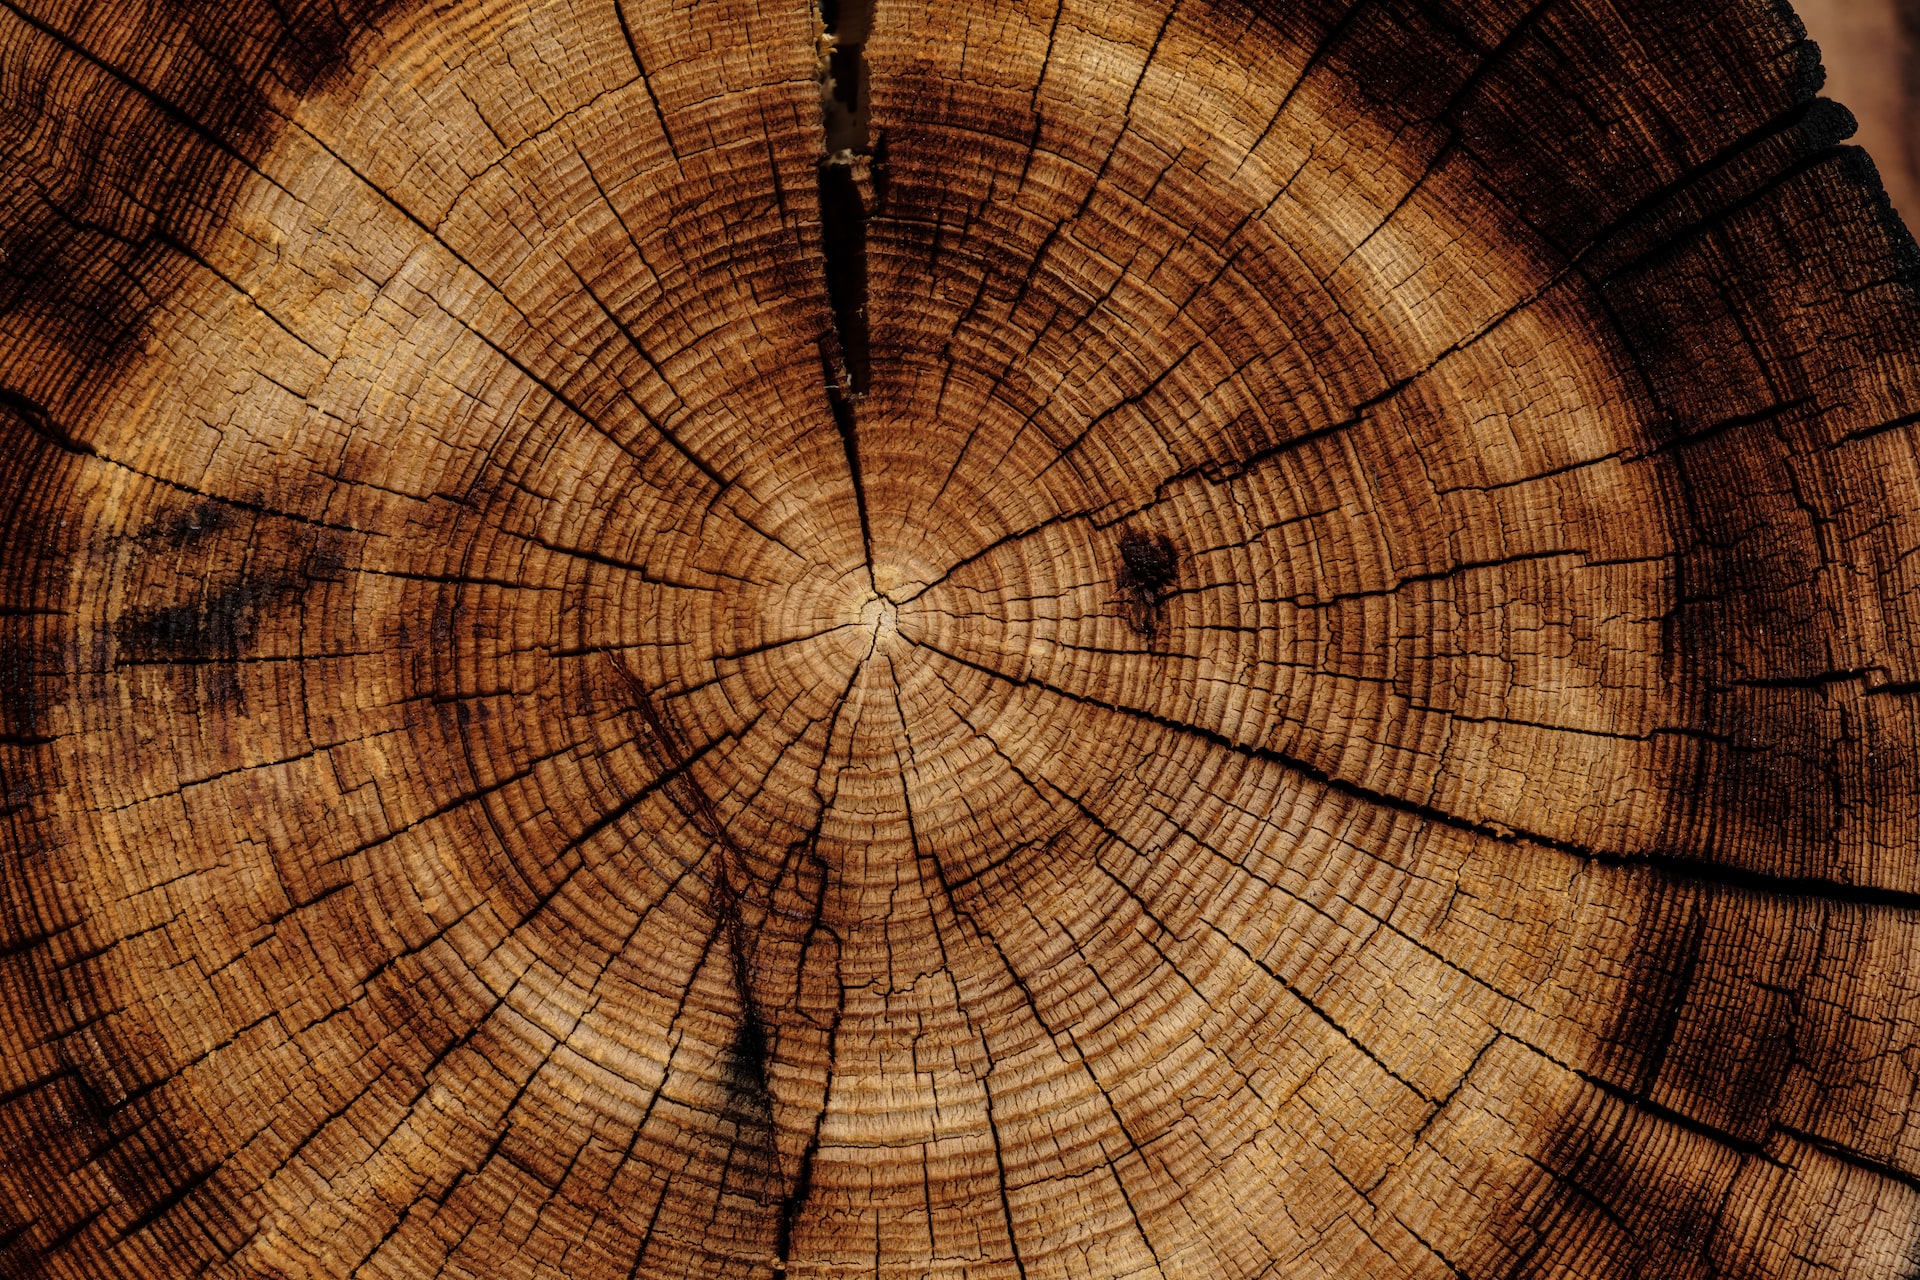
One of the primary things that should be considered would be to see whether your surface is a bit that should be painted or possibly is new timber. This is significant mainly because that unfinished timber carries a porous surface. Consequently it would absorb considerably more of the coating you are painting on in comparison to wood that may be painted. This is certainly because of the fact that timber which was painted before will still hold onto a number of the old molecules of coverings that happen to be deep in the wood grain.
Even when you are about to sand them back, it might not need several coats as totally bare timber or new wood. However, if you are focusing on a wood surface or plank which has been previously painted, priming should always be used to guarantee it holds on to the new colour effectively.
Colour & Quality
Another major consideration when determining the volume of material that ought to be used besides the kind of coating that needs to be used, another necessary thing that must be considered is the calibre of the new wood.
By way of example, have you got a stained bit of wood that you are dealing with? If you have then you might want to think about using a tinted coating to coat the blocking stains thoroughly before you begin painting to make sure that it does not show throughout the coating colour.
Or are you dealing with wood that already is actually a dark colour? If you have, then two coats or more will most likely have to be used so they can also accept your coating colour. Then you have to consider using oil based/solvent based versus water based. Oil based primer and water based primer work differently – more on that below.
Where Are You Placing The Item?
This can be a question that numerous people will not consider. Where will you be placing any project after it is actually finished? Will the furniture be utilized in high-traffic, high-touch situations or used for interior and exterior use?
If you have, then you might want to use more primer coats and maybe a blocking stains primer in order to avoid staining the newest colour down the line. A high quality coating will probably deal with this.
It will require some work to remove a coating be it new or old undercoat paint.
If you are intending to get rid of a coating from your walls or another large surface, then you may need to work with an electric powered sanding tool like a palm sander or orbital sander to complete the job efficiently and quickly. The proper decorating tools make the job much easier.
Remember if you are painting over an older wall you simply will not have to get rid of the existing coating first. Instead, just smooth the top out by roughing it using 220 grit sandpaper and after that continue with painting. However, it is advisable to prime the wall and necessary if you want to cover over oil based paints when working with water-based undercoat paint.
What type of Coating Needs To Be Used?
Now we have discussed the way your new item might be evaluated, this is actually the next most important question that must be addressed:
What sort of coatings do I need to use?
Before jumping into this there is something we should address, which would be to stay away from self-priming paints! Why? Self-primary paints just do not get the job done well, especially on bare wood surfaces. Although in some situations it might be nice, they are certainly not ideal when you are attempting to actually reach the best quality finish coat.
There a number of choices from like oil based/solvent based coatings. Let’s look at a few of the top coatings to consider in different situations!
Just How Many Coats Must Be Applied To Wood?
This will probably vary depending upon the factors discussed above, we will be outlining what you ought to look for when determining the amount of coats that you need to use.
When Should One Coating Be Used?
In many cases one primer coat will likely be sufficient for wood surfaces when you might cover over a pre-existing coating and on bare wood sometimes. So how will you tell when enough is enough?
When it seems like the surface is entirely coated with your selected coating after one coat and is fully dry to touch without having the capability to see through the wood, then perhaps you are good to go.
One more coat of undercoat might still be used unless you just like the shade of the job after painting one coat.
When Should Additional Coats of Primer Be Applied
The situations where additional coats of primer need to be used are situations where you will have a very worn-down bit that may be needing plenty of coverage.
For instance, when you have a project that you are currently focusing on that is not covered before it might need two coats.
However, the simplest way to prepare this sort of lumbar before ever wearing primer is to actually sand it enough using high-quality sandpaper.
That will assist it to accept the color and primer a lot better.
Another situation where two coats may be required is in case you have an incredibly dark color you are dealing with and you wish to cover it over with white or possibly a bright hue.
In this case, you have to be absolutely confident that the actual color is not going to show through after it is actually finished. Then you might need to use two primer coats and possibly an additional coat.
Supplies Required To Prime Wood
Given that we have now discussed the most important things that you need to know before you begin to prime, let’s cover several of the key supplies that must be collected before starting.
Plastic drop cloths
Paint color
Primer of choice
Several brushes (one or more} for primer and for paint)
Painting mask that includes a ventilator
Sandpaper (several different grits)
Decorating Tools
Step 1: Thoroughly Sand Your Timber
You are unable to avoid this task even when you are painting new timber.
Sanding allows your surface to get fully ready to accept paints and primer.
As mentioned before when you have a rough piece that you are dealing make sure to use a number of grits of sandpaper to smooth the surface to accept primer effectively.
Step 2: Clean The Timber
Given that the timber is sanded enough to take your coating and primer fully, make use of an air compressor to completely eliminate every one of the small dust particles from your surface.
A damp rag can even be run across the surface to ensure it is free of dust. Just don’t work with a really wet rag because you don’t need to have extra moisture around the timber surface before you apply primer.
Step 3: Painting The Initial Primer Coat
As with painting almost any primer or coating you need to make sure you use enough to totally coat the wood. However, you don’t want a great deal so that it creates drip marks and additional goopy spots.
Just make sure it can be applied in even, clean strokes and that it is distributed well enough that it is coated evenly throughout.
Step 4: Optional – Use A Second Primer Coat
When you have chosen to use a second coat of primer, you must be sure that the first coat is fully dry before moving to an additional coat.
Next, take advantage of the same technique when painting and make certain there are actually no extra gloopy spots.
Step 5: Apply Your Colour
It is actually now time for you to finally start painting!
After the first coat of primer (and perhaps an additional coat) of primer is dry, it is actually now time for the first paint coat to get applied. Be sure you take advantage of the same method that you just did using the primer to successfully achieve a level coating. Carefully look for any spots where your primer color could possibly be peeking through.
You need to be sure that your color is even, strong and bold everywhere as soon as the first coat of paint is used. When you choose that another coat is necessary then put it on after the first coat has dried to make sure that no color is lingering through the coating or primer that may be coming through your finished job.
Some Final Ideas On Primer Being Used
So now you thoroughly know how your surface needs to be evaluated and find out just how much primer is needed.
There may be needless to say lots of space on every project for experimentation since each one of these is different and various steps are required.
Fortunately, it is a straightforward surface to use with regards to dealing with a coating once it is not covered with laminate, lacquer, or extra coatings.
So hopefully the following project will end up well so you attain the beautiful look you want.
Should I Use a Primer?
It is possible to apply a lacquer or topcoat without a primer, however this will produce a subpar result. Using a primer on wood offers a few benefits. First up, it will save you money if you are applying to a large area as it will stop soakage. This could be the difference between 3-4 layers of topcoat and 2 layers. On top of this, a properly applied primer will give you a better, smoother finish that is sure to last you a long time.
Should I Use a Spray Primer?
Spray primers offer a number of benefits versus brush applied primers. They provide good coverage and a consistent application
What Prep Should I do Before Applying my Primer?
Before painting your wood primer, you need to make sure of a few things. First of all, make sure that the surface is free of blemishes such as holes or bumps. You need to make sure the surface is spotless and free of dust or dirt. Clean it with a brush or vacuum.
How do I Pick The Right Primer For My Surface?
If you are unsure what primer is best for you job then just get in touch with us and we can help tell you what will work for you.