
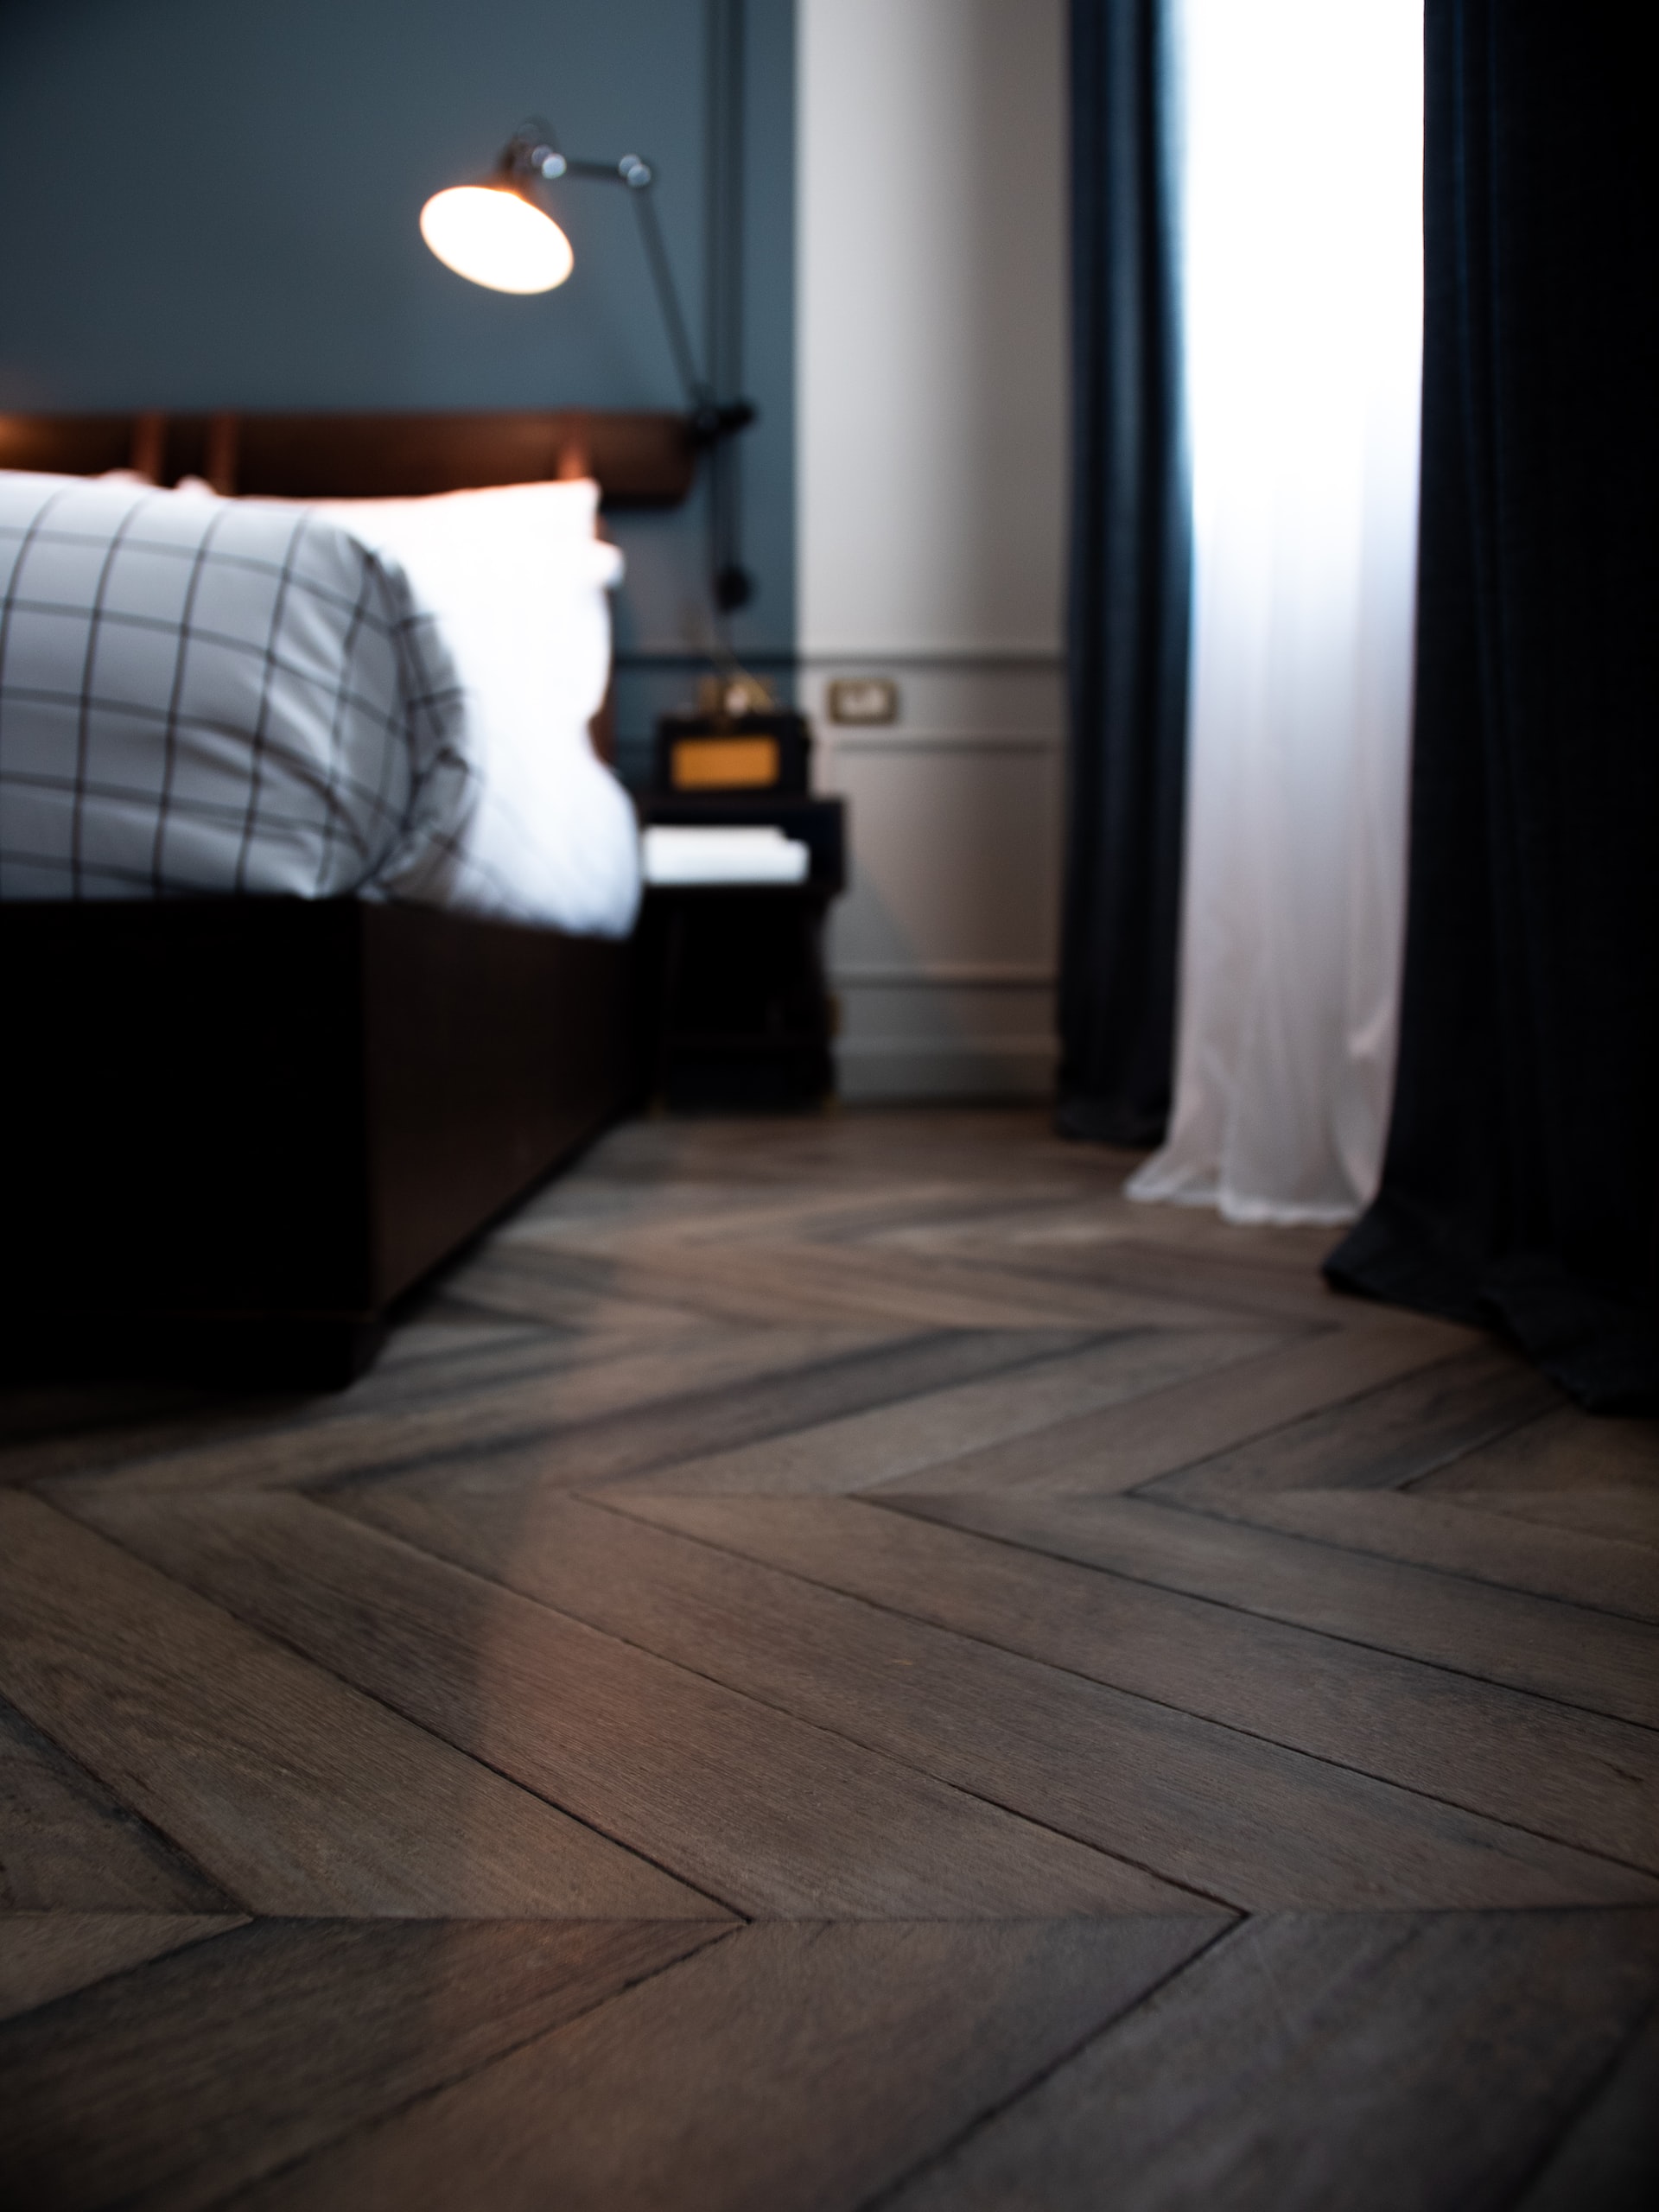
What you Need to Know About Priming Wooden Floors
If you are planning on painting a solid surface, a primer coat is almost always the best way to begin. No matter what type of material the surface is made of, metal, wood, drywall, plaster, or what have you, the first primer coat plays a major role in the performance of the paint. As a rule, the primer coat is in place to provide a flat surface that adheres well to the surface and supports the paint on top. The primer also provides a consistent surface to the painting above and hides any small imperfections in the surfaces below.
Surfaces that are not properly primed before they’re painted will not hold the paint as well as those that have been primed. A lack of primer means that more coats of paint are needed for proper coverage. It can lead to paint that peels and flakes away quickly and above all it hastens the need for another paint job, and this is not an efficient way to work.
Then, there are different primers used for different surfaces. If you are working with painting a wooden floor, you will need a wooden primer to achieve the best results.
A wood floor primer also ensures that the stain you apply will endure and will not be scuffed, scraped, chipped, or damaged as quickly. The primer will also act as a smooth base for the application of your wood stain and ensure that the finish is smooth, sleek, and remains so for the longest possible time. For this reason, the first step in the process will be to apply a well-chosen primer to your wooden floor. The better the quality of the primer, the greater the results you can achieve.
The way that the primer is applied to the wood floors will also have a lot to do with the final result. This is also where a professional painting job can be differentiated from an amateur attempt. But if you will look at this work every day, why not try a lot of love and care into your special home, it pays to do this job right.
Why Apply a Wood Floor Primer?
While this may seem like a very self-explanatory process, the job of applying primer seems deceptively simple. But there are several ways this fairly simple can go wrong, and it is important to gain some insights if you have never done this before. The main purpose of applying the primer is so that it will dissolve the fine surface and form a strong adhesive base onto which your later coats of paint can be applied. This also smooths out the surface below ensuring that any small imperfections on the surface will go unnoticed. By performing this important task, the primer ensures that all other products that you will be applying also exhibit a uniform fit across the surface. Finally, the dried coat of primer makes an excellent surface onto which the stain or paint can be applied, helping it to look better and last longer.
Typically, white is the colour most often used in primer, but you will also find a variety of neutral colors if that is what you are looking for. The reason for using white or some other neutral colour for a primer base is that this presents the colours of the paint in the best possible way and makes it easier to paint over as well. You can also find that certain paint manufacturers will add a small amount of pigment to enhance the colour you will be painting your wood floor.
How to apply your wooden floor primer
That final look you see when the task is finished will all depend on the quality of prepping and priming that sets the base. It pays off, in the end, to make sure that your surface is free of dust and all other superficial irregularities before beginning. If you will be priming existing floorboards, be sure that you have visually examined them and removed all globs, lumps, scratches, bits of glue or plaster, and anything else that will mar the finest surface. While they may be hard to see now, any small imperfections in the surface will be starkly visible when the paint is applied later.
You don’t have to sand the wooden floor down completely — though in some cases you really should— so long as you have vacuumed them well and cleaned them as best you can to their base structures, you can begin the task of painting. We use a vacuum cleaner of industrial strength for all our priming projects. It is a powerful thing, but it makes sure that the surfaces are immaculately cleaned before we begin. Take full advantage of the various attachments so that you can make sure to get every angle and ensure maximum cleaning before moving on to the next step in the process.
Mixing the Primer
To ensure that the primer is going to work well, you must make sure that it has been thoroughly mixed. When it has been completely mixed, you can begin to apply the primer to the surface. Use a spray gun and compressor, paintbrush, or roller to apply the floor paint. If you use the spray gun and compressor option, you will need to work a little more as each section will have to be sprayed a few times to ensure full coverage.
Brushing will also require plenty of time and effort. Nevertheless, brushwork offers some of the smoothest and most even finished looks you can hope for. Be sure you have followed the manufacturer’s instructions before you begin working with your primer.
Prime Your Wooden Floor Or Floorboards
The first coat should be done with a slightly diluted coat of primer. If you are using a water-based primer, you can simply dip your brush in freshwater before you dip it into the dark paint can and paint like this. Allow this first coat of primer to dry completely before adding the second coat which will be done with full-strength primer.
Sand The Wooden Floor
Before you go on to apply the whole floor paint, we recommend sanding the primer well to achieve a glass smooth surface for the next coats. We are staunch proponents of giving your work a sanding down between each coat of primer and paint. This extra step really makes all the difference in attaining that smooth and flawless surface that separates the professionals from the rookies. We recommend using 240-grit sandpaper and briskly rubbing it over the whole floor. Don’t add so much pressure that you will remove the paint.