
Hints And Tips To Effectively Lacquer Your Wooden Floor
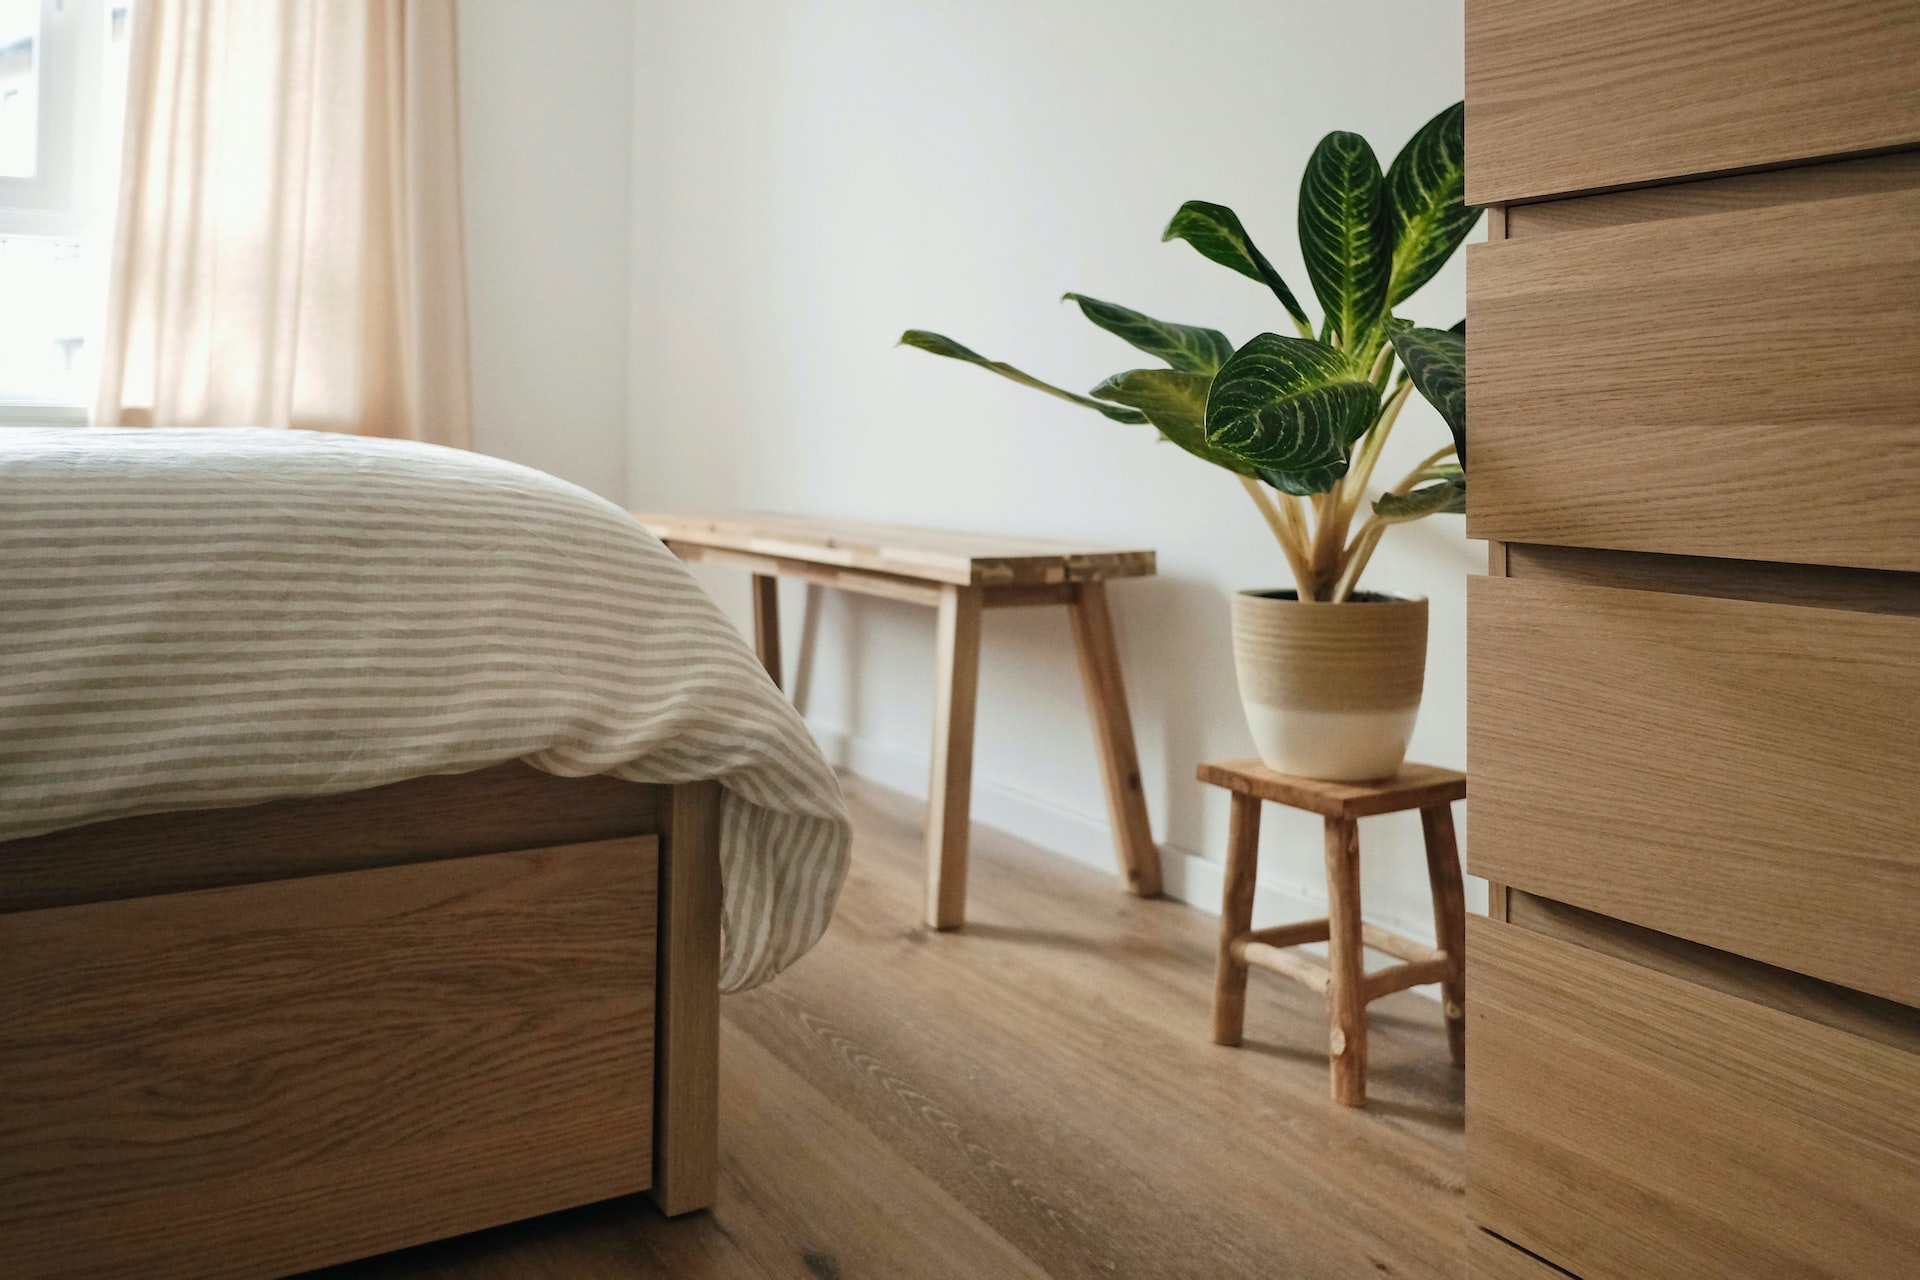
The right finish to your wooden floor will make all the difference to the aesthetic of your home – so it’s an important decision. There are a variety of options when it comes to wood flooring finishes, these include lacquered, whitewashed, oiled, and distressed. For many homeowners lacquer is the first choice due to the fact that it is tremendously hard-wearing. With some care to maintain its shine, it can stand up to high foot traffic.
Hardwood floors all require sealant in order to repel both water and dirt – and lacquer does the job admirably. It acts as a wonderful sealant, but has the added advantages of an extremely clear, hard coating that brings out the natural beauty of any hardwood floor. However, lacquer does have its limitations. It is a wonderful finish – but it will not hide imperfections in the wood, cracks, or gouges. It is therefore important that the floor be finished perfectly before applying lacquer finish.
A lacquer finish coats the surface of the wood, rather than sinking into it – as would the case with oils of various kinds. Because it sits on the top of the wood it can be prone to scratching, unlike oil. When it is subject to scratching it begins to lose its inherent beauty, becoming dull. However, all is not lost. There are a variety of options when it comes to restoring a lacquer finish, short of recoating. For instance, there are lacquer pens that can deal with individual scratches. However, if the damage is wide-ranging you will probably have to consider recoating as an option.
Preparation for Recoating
Firstly remove all the furniture from the room – that will give you the space to work and will ensure that the furniture is not damaged. Make sure not to drag the furniture – lift and move. Dragging the furniture will increase the chance of even more damage to the lacquer.
Once all the furniture has been removed examine the floor closely to ensure that there are no staples or nails that will need to be removed or punched back into the flooring.
Ensure that the floor is completely clean and dry prior to applying the new lacquer coating. Ensure that all previous finishes have been removed. In certain circumstances, removing finishes and smoothing out the surface might require the use of an orbital or vibrating sander. Make sure to repair any imperfections in the wood such as cracks. Then perform one final sanding (120-grit sandpaper is ideal). This will ensure that the floor is smooth. You can then apply a stain if you so wish – however, make sure that the stain that you are using is compatible with the lacquer finish you are going to apply. If you choose to use a stain then lightly sandpaper after sanding – once you have completed sanding use a tack cloth to deal with the dust.
Application of Lacquer
It is important to check the manufacturers humidity requirements prior to applying the lacquer. Many types of lacquers have manufacturers’ recommendations in terms of humidity. If the humidity in the rooms is too high then there is the possibility of ‘blushing’ – this is white areas that appear in the lacquer finish when it is dry. Application of the lacquer is best achieved through the use of a high-quality brush or a specialized lacquer roller. Make sure to stir the lacquer regularly to ensure that any solids remain suspended. Ensure that you follow the instructions of the manufacturer as regards drying times and specific directions for recoating. Note that some types of lacquer require sanding between coats. Still others will require that you recoat within a specific time window. To ensure an effective recoat, start from the most distant corner of the room – and work methodically toward the exit.
Be Aware
Many types of lacquer attract insects – if you have screened this should not be a problem. Be aware that solvent-based lacquers are flammable – and during evaporation, the fumes are heavier than air and will settle close to the floor – they can present a very real danger. Make sure that if you are using a solvent-based lacquer that you switch off pilot lights and any other possible source of ignition. To ensure that air circulates within the room place a box fan facing backward towards an open window. Keep other windows open to allow fresh air to enter the room. Make sure to read the safety instructions on cans – both for water-based and solvent-based lacquers. Note that solvent-based lacquers can damage your health, inhaling the toxic fumes can cause lacquer poisoning – in extreme cases this can lead to brain damage and even death.
When Complete
Looking after your newly lacquered floor should be as simple as a regular vacuum and applying a mop. Lacquer is very resistant to water damage – so a damp mop will be just fine (unlike oiled floors). But you should avoid soaking a lacquered floor – that should never be required. A mop applied with warm water to deal with light staining, and for more stubborn stains, a common household, muti-purpose detergent is ideal (make sure that it is mild and developed to work on your particular type of flooring). If in doubt, or it is the first time you are using the detergent, speak to your flooring expert.